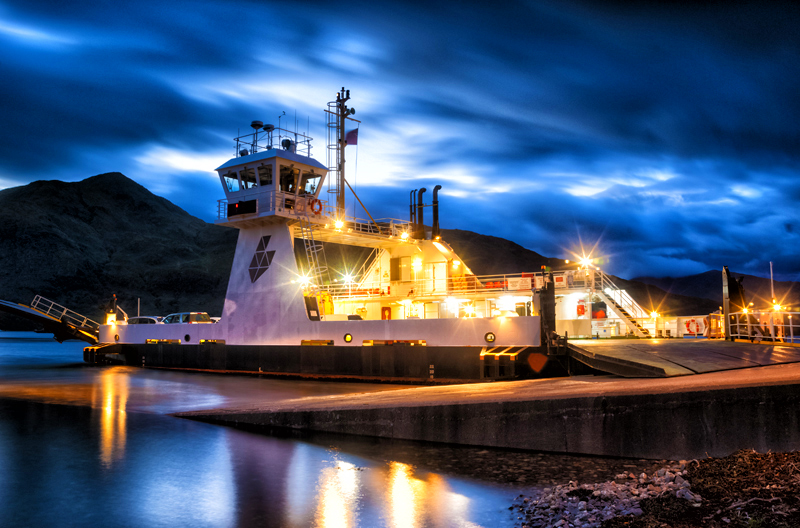
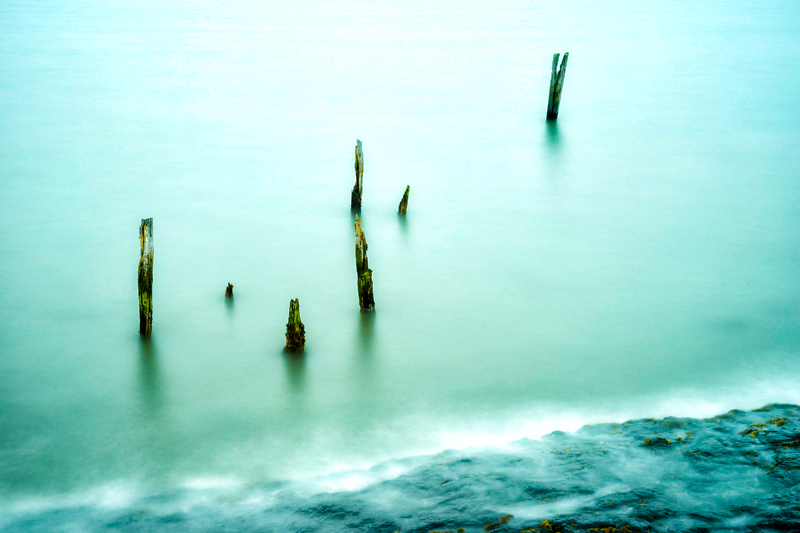
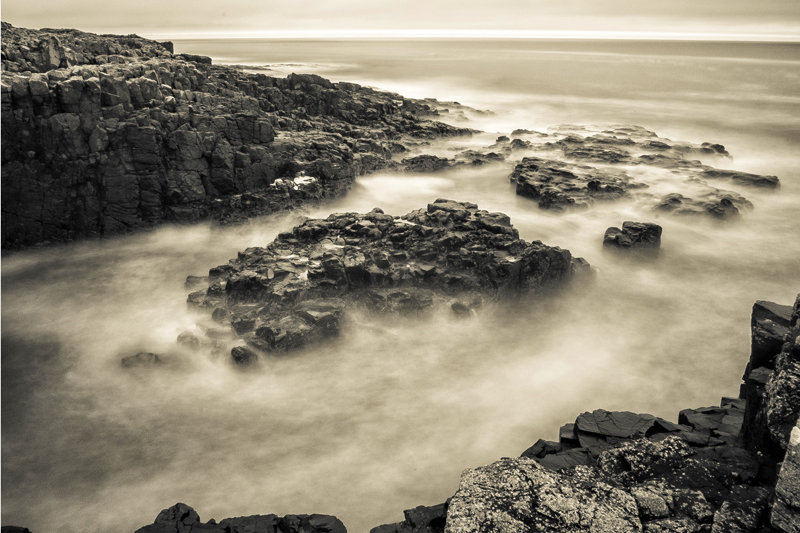
I was introduced to long exposure photography in the autumn of 2009 whilst on a three day photographic workshop run by Lee Frost. Lee is a photographer, journalist, writer and leader of photographic workshops and tours. He used to edit and contribute to many of the popular photographic technique magazines and has written many books on the subject. The workshop that I took part in was a “Castles and Coast” tour of the Northumberland coastline. Lee introduced me to long exposure photography and I have been hooked ever since. Here are some of my images:-
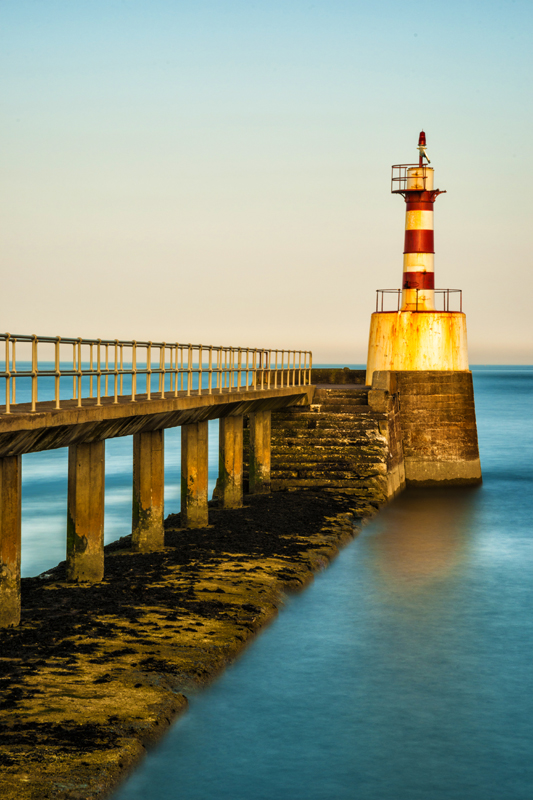
This image is of Amble Pier and it was created in March 2011 on a subsequent visit to Northumberland.
My way to take long exposure landscape photographs during daytime!
There are many ways of capturing long exposure photographs depending on light levels, conditions and subject but they have some things in common:-
- You will need a sturdy tripod.
- A means of timing more than 30 seconds shutter speed – I have used a wrist watch but better ways are available such as remote shutter release buttons with timers.
- Patience! – Your exposure time will be matched by a subsequent processing time.
- A method of blocking light out of viewfinders because light can seep into the viewfinder during such a long exposure. Some cameras have a shutter over the viewfinder.
- It can be very absorbing so make sure that you remain safe; sometimes you don’t notice the tide coming in and getting your feet wet – or worse, you get cut off from the shore!
Depending on the effect that you wish to achieve will dictate how long in terms of shutter speed you will set – showing slight movement might only need large fractions of a second – 1/4 sec for example, but for the milky water that I favour or perhaps star trails will require much longer shutter speeds. The image of Amble pier had a shutter speed of about two minutes.
In order to correctly expose your image, you will need to use techniques to restrict the amount of light that gets in over time – by using a very small aperture (or large number f-stop value). This can be good for depth of field in landscape photographs such as ‘Amble Pier’. For this image the f-stop was between f22 and f28. It is worth remembering that high f-stops such as this can cause chromatic aberation – green and purple (in many cases) along lines in your image due to how much the light is bent to get through the aperture – use with caution, particularly over f16. I got away with it here and indeed, because of the combination of depth of field and limiting the light into my camera, I often use f22 to f32. If you want a limited depth of field, of course you would choose a much smaller f-stop (larger aperture) – f4 for example.
Another thing that you can adjust on Digital cameras is ‘iso’. This adjusts how sensitive to light your sensor is. iso 50 is ‘quite insensitive’ – it takes a relatively large amount of light to register on the sensor, iso 100 is more sensitve to light but still gives great quality if there is sufficient light. Iso 3200 is very sensitive – great for low light conditions but it creates a lot more noise. The measurement of iso came from the days of film photography. There are a lot of people who still use film today but you have to choose the sensitivity required before loading a new roll of film. I started off using film and a roll of Fuji Velvia with an iso of 50 gave photographs with very fine grain, while Ilford Delta 3200 (iso 3200) is very grainy but great in low light conditions as it is very sensitive. For long exposures I use iso 100 for great quality and limited sensitivity – remember, we are trying to limit the light over time to capture movement. With digital cameras, you can change the iso on a shot by shot basis.
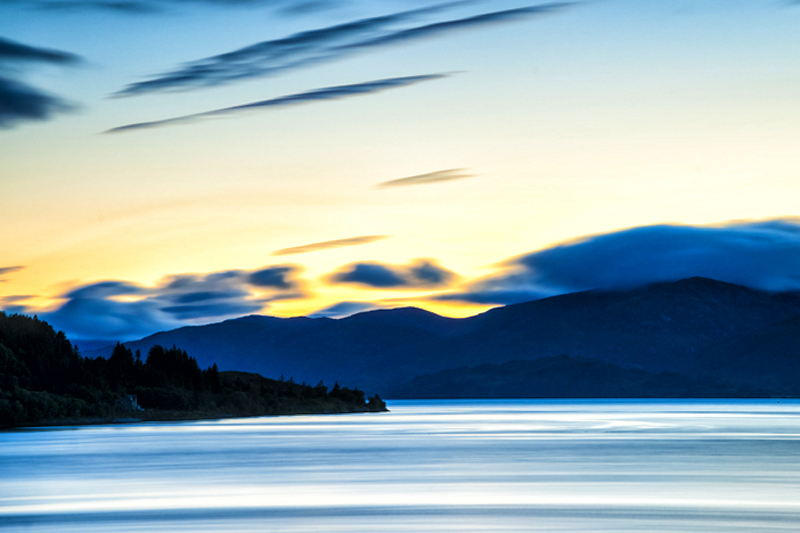
Correct exposure is achieved with the right combination of aperture, shutter speed, iso and light levels. Sometimes, you have optimised the shutter speed, iso and the aperture but the ambient light is far too bright, so the final step is to limit the light hitting your sensor or film is to use a strong Neutral Density (ND) filter. A ‘two stop’ ND filter will let half of the amount of light in to the sensor compared to no filter for any given combination of shutter speed, aperture and iso calculated for available light levels; a three stop ND filter – a third of the light. For a long exposure photograph like ‘Amble Pier’, a 10 stop ND Filter was used – that is a tenth of the light than would have been allowed in without the filter gets recorded by the sensor (or film).
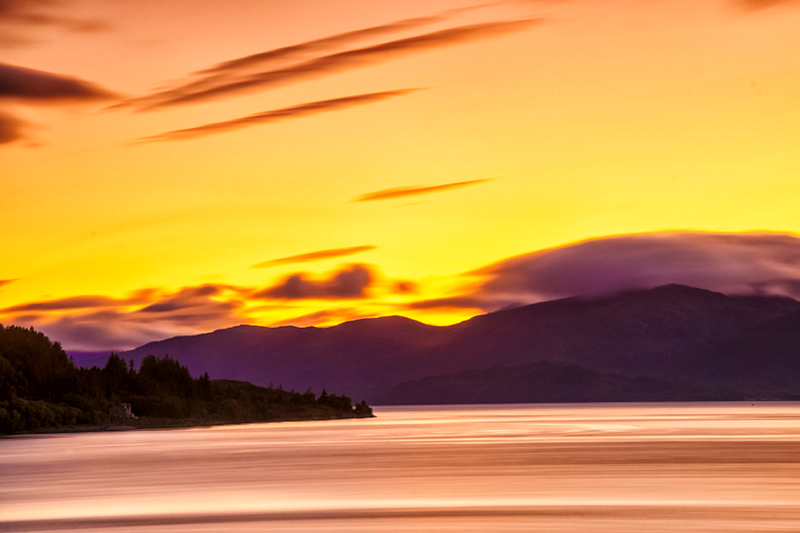
I started off with a screw on 10 stop ND filter but I later graduated to a Lee Filters Big Stopper for quality and ease of use – I could focus and then slide the Big Stopper into place before taking the shot. With the screw in version, I sometimes disturbed the focus by screwing on the ND filter. I also have a variable density ND filter – anything up to 6 stops, which can come in handy sometimes.
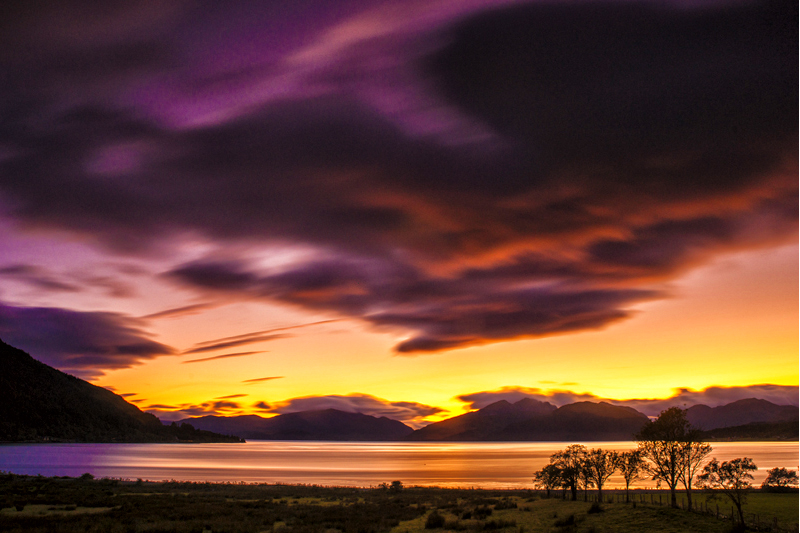
My settings for most of these images:-
- Interesting view with moving elements like water and/or clouds drifting across the sky.
- Safe environment.
- Manual Aperture, Shutter speed – on ‘Bulb’ – allows shutter speed of more than 30 seconds.
- Aperture f22 to f32 – depending on conditions with a preference for f22 if I can.
- Sturdy tripod.
- 10 stop ND filter (mostly).
- Focus camera lens – for landscapes, usually a third onto the frame – hyperfocal focusing.
- Unlimited shutter speed.
- Electronic cable shutter release with lock function.
- Wrist watch (or timer Electronic cable or wireless shutter release) to hold the shutter open for specified time.
- Cover for viewfinder.
- Once focused, slide 10 stop ND filter into place.
There are ways of calculating the required shutter open time but I tend to start off with an exposure of 2 mins in normal daytime light levels, and then using the camera’s histogram, adjust by increasing or decreasing the exposure from there. If the exposure is not good, I retake after adjustment (and continue until I am happy). If I am happy with my image, I will perhaps choose a different angle and re-shoot – with more of an idea of light levels and exposure settings.
Take plenty of batteries!
One final note; when I started this caper, I was using a DSLR with a mirror. You get a black screen on the back of your camera once you have added the 10 stop ND filter. I now have a mirrorless ‘DSLR’, now I can see a dimmed version of the image even though I have the 10 stop ND attached – I find that reassuring for a last check of the composition before I release the shutter to create the image.
I like these images but I am more than a bit biased as they are ‘like my babies’. Please write to me in the comments with your thoughts on my images, my technique or any other related feedback. All comments welcome and appreciated.

